What would you plant? - Cool Season Annual Edition

In the last post I talked about the best perennials for new growers to try, today I want to tell you about some of my favorite cool season annuals. These lovely blooms are great because you can get them started at the end of winter and plant them out before it’s too hot. Gotta love those cool spring days in the garden!

A couple things about “cool flowers”.

-Plant them out in the garden 6-8 weeks before your last frost date. Here in Northern Utah our last frost date is typically around Mother’s Day, so I do my first outdoor planting in mid March.

-If you need to start your own seedlings, count back from your planting date to figure out when to seed them. For example, if you know it takes 5 weeks to grow snapdragons to the size you want plant out and you want to plant them in mid March you would start them in early February.

-They like it cool, so don’t put them on a heat mat with zinnias or other warm flowers, one or the other will suffer. I keep my mat around 65 degrees when starting most cool season flowers.

-It’s best to have your beds prep in the fall so you don’t get held up by rainy weather that could make bed prep a muddy mess.

-While they are cold tolerant, it can be a good idea to keep some frost cloth on hand to cover them if the temps dip a little too cold. It’ll help you sleep better during those inevitable cold snaps knowing your plant babies have a little protection. I like Agribon 19.

-Direct sown varieties are a great option if you don’t have space to start seeds inside.

Now for the fun part- the varieties! There are a lot to choose from but I think the following are a great place to start.

  1. Nigella

    I’ve never actually “planted” nigella, but I harvest it every year. It comes back year after year from a wildflower mix that some past owner sprinkled out decades ago. Disturb the soil slightly, cast your seed and give it a light watering and walk away. It’s that easy. The blooms are usually a lovely light blue or white and the seed pods that from later are great to dry for use later. You can even toss your seed out in the fall and they come through the winter like champs! Cut when buds are beginning to open or wait til the seedpods form.

Nigella

Nigella

2. Snapdragon “Madame Butterfly”

I love these frilly, gorgeous flowers! They make a great linear shape in bouquets and smell delicious to boot. Snapdragons are best started indoors. They have tiny black seed casing that sometimes become stuck on the new seedling, using a dome over the seedlings and misting them occasionally will help with that. The color “Bronze with White” is a coral pink and one of the prettiest I’ve ever seen. Cut when the bottom third ot the florets are open.

Snapdragon “Madame Butterfly”

Snapdragon “Madame Butterfly”

3. Statice “Seeker Series”

Statice is the unsung hero of the summer bouquet. Not flashy on its own, it fills out and adds color to the group. I plant it twice, once in mid March and again in mid April. From these two plantings I have flowers from late June or early July until frost. Start inside much like snapdragons. I especially like Seeker Blue and Seeker Light blue, they make yellows and peachy colors pop. As a bonus, you can dry your extra stems in a dark warm space for use later. Cut when the florets are fully open.
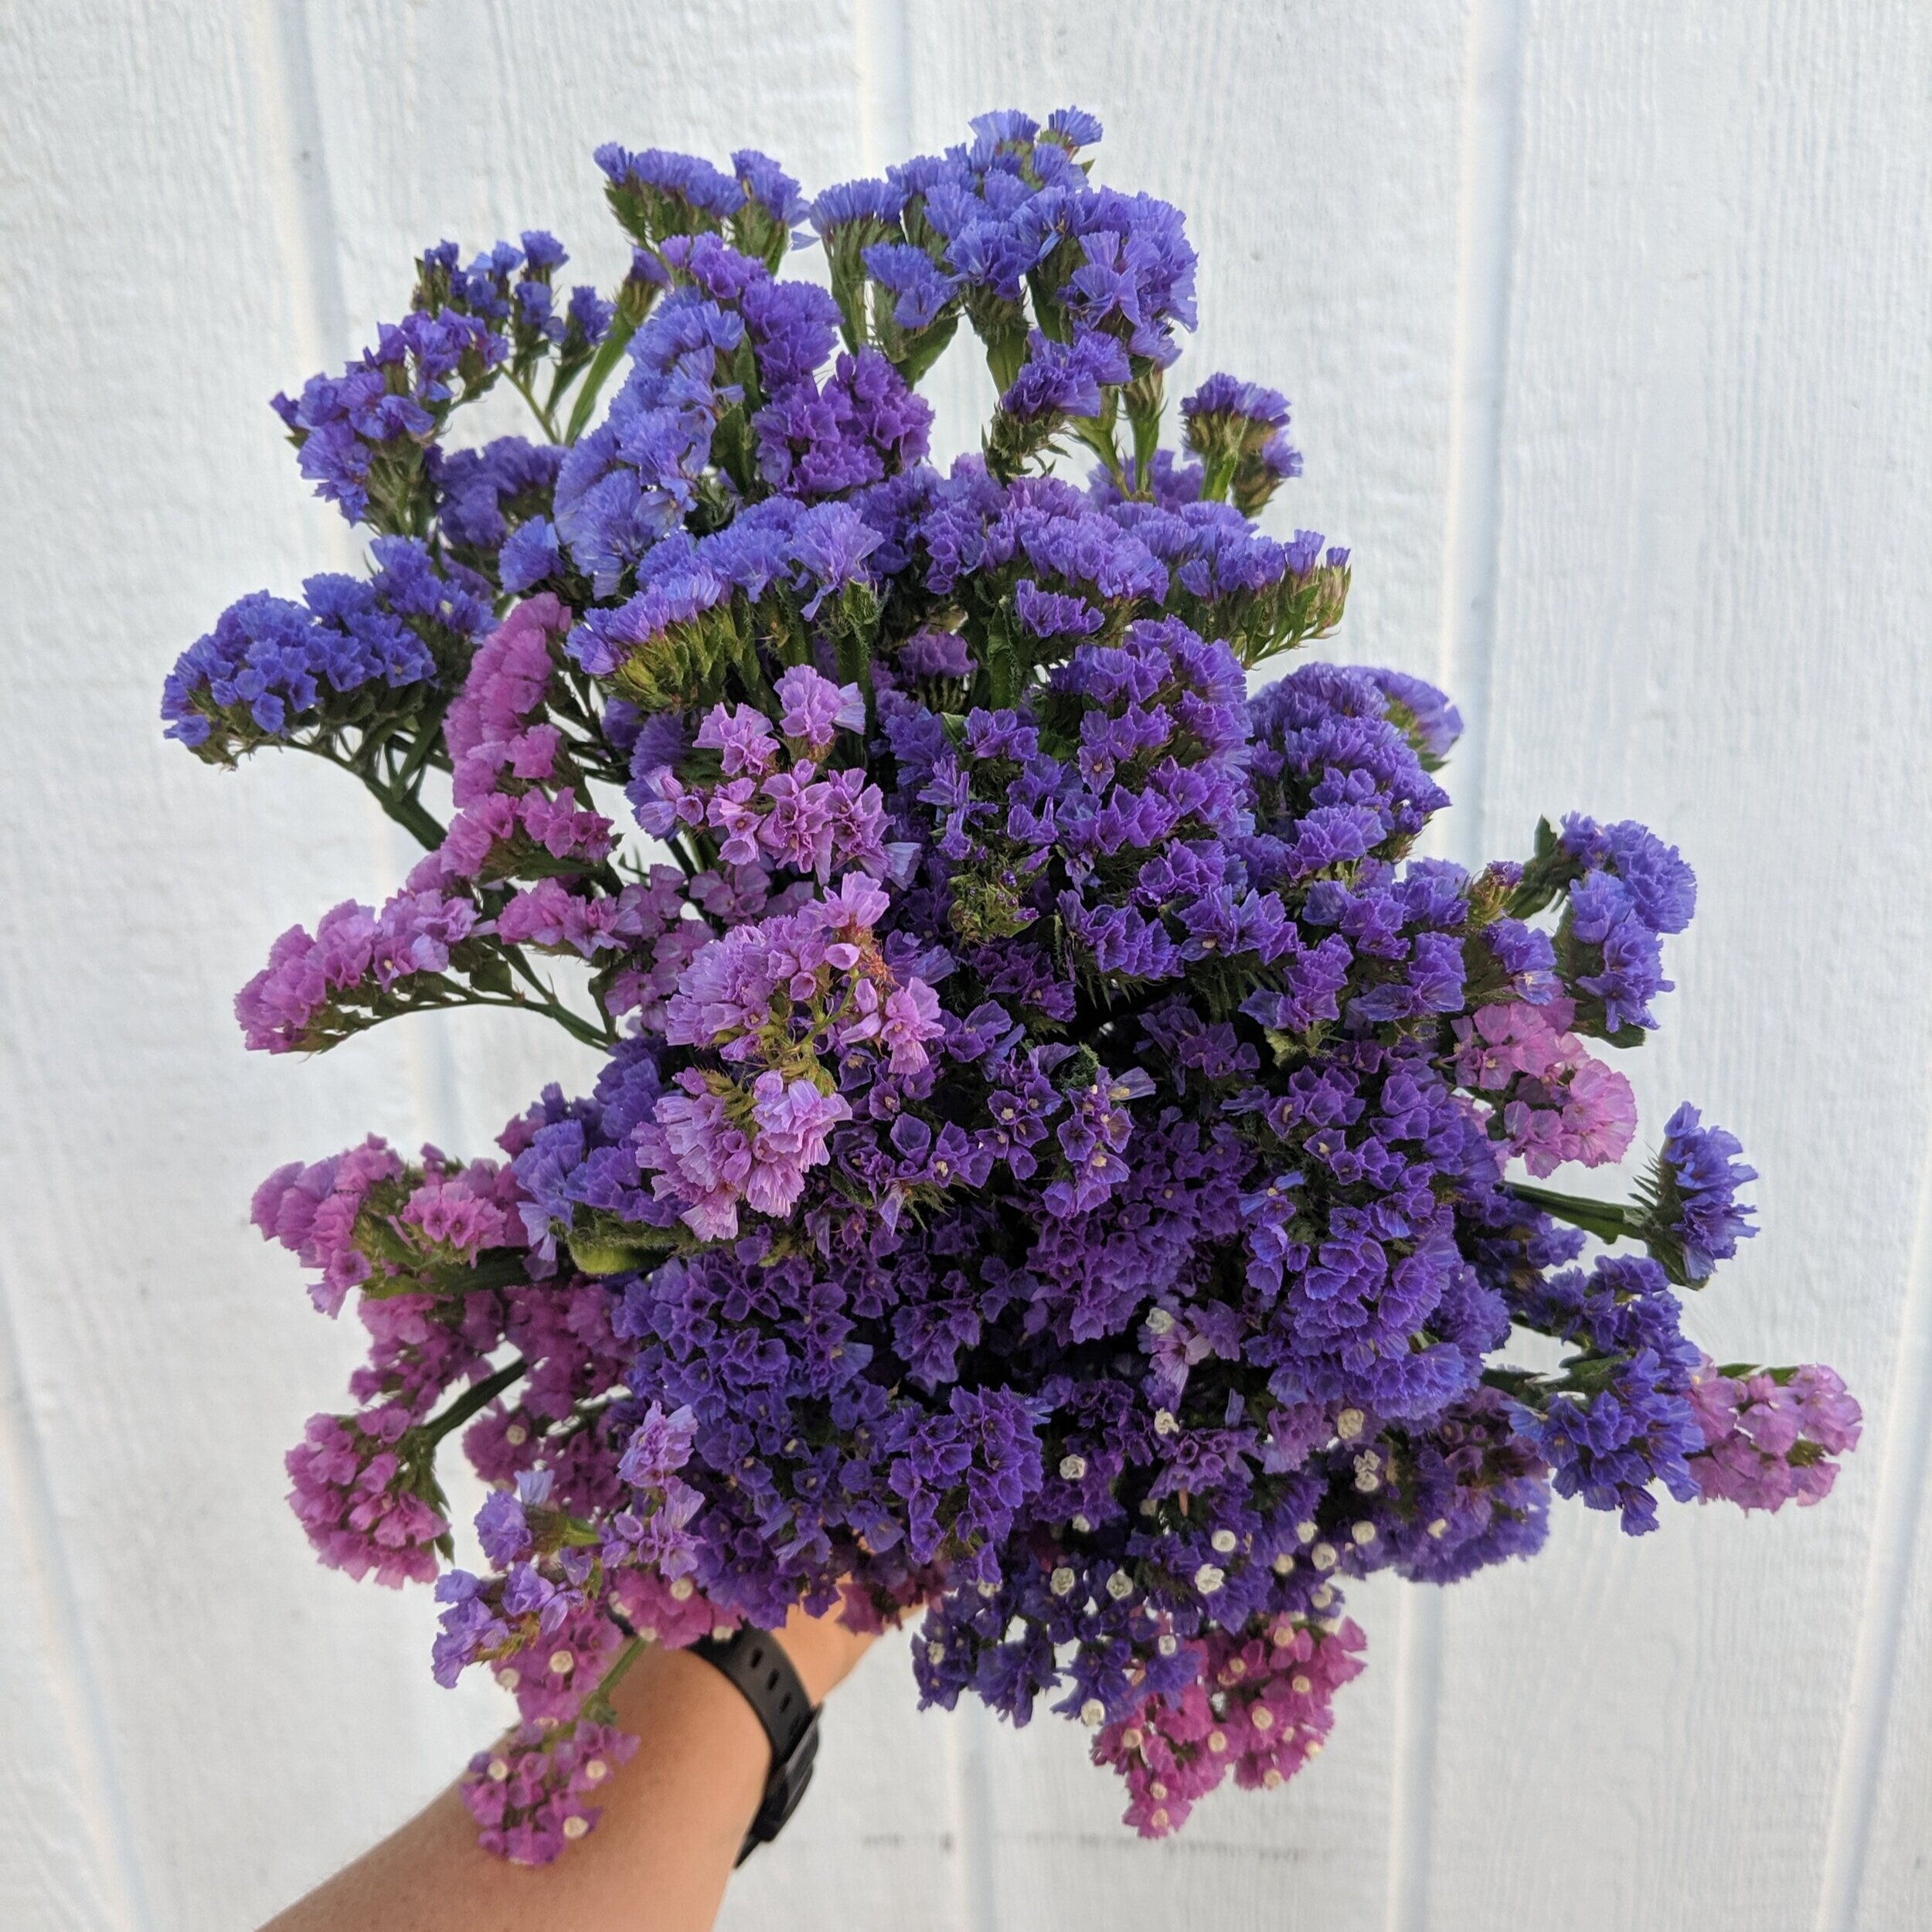
Statice “Seeker Blue” and “Seeker Rose Shades”

Statice “Seeker Blue” and “Seeker Rose Shades”

4. Bachelor Buttons

These cute “buttons are easily sown straight into the ground in early spring or in the fall. They come in shades of blue, pink, white, and purples. Sow several successions a couple weeks apart to have a longer span of blooming. They typically bloom in June and July depending on when they are sown and are even edible! Cut as they are just begining to open.

Bachelor Buttons “Classic Mix”

Bachelor Buttons “Classic Mix”

5. Feverfew “Magic Single”

This is my hands down favorite variety of feverfew, perfect, tiny, cheerful daisy shaped blossoms with long strong stems. Each stem is a lush cluster of these cute little blooms. They fill out an arrangement well and impart lots of charm and whimsy. These tiny seeds are best stared indoors, but will gently reseed if happy. I plant a round in mid March and another in mid April, they bloom in June and July AND if you leave them in the ground they will over winter and bloom again, even earlier in June. Cut when most of the flowers on the stem are open.

Just a farmer and her favorite feverfew, “Magic Single”

Just a farmer and her favorite feverfew, “Magic Single”

Many of these flowers will be blooming at the same time as warm annuals that are planted a bit later. Together they make a beautiful bouquet.

IMG_20200707_100120 (1).jpg

Find my top 5 beginner warm season varieties here and my 5 favorite beginner perennials here.

What would you plant? - Perennial Edition

Last weekend at the Utah Food and Farm Conference I was asked during my talk to name my top ten cut flowers for beginning flower farmers or cut flower gardeners. I thought it would be fun to answer that same question here, only I plan on sharing my top fifteen. Yay!! Five extra flowers to talk about!

Let’s start with my favorite perennials for cutting gardens, shall we? Often people want to start with annuals, but perennials provide a great backbone to your cut flower garden. And because they take a little while longer to get established it’s a good idea to get them planted sooner than later. Keep in mind there are lots more perennials that make great cut flowers, but these particular cultivars are ones I can’t imagine not growing.

1. Rudbeckia hirta Prairie Sun

This gloriously happy flower is like pure sunshine in a bouquet. Easy to start from seed, it produces blooms from June to September in northern Utah. I love it arrangements with snapdragons and feverfew.

Rudbeckia “Prairie Sun”

Rudbeckia “Prairie Sun”

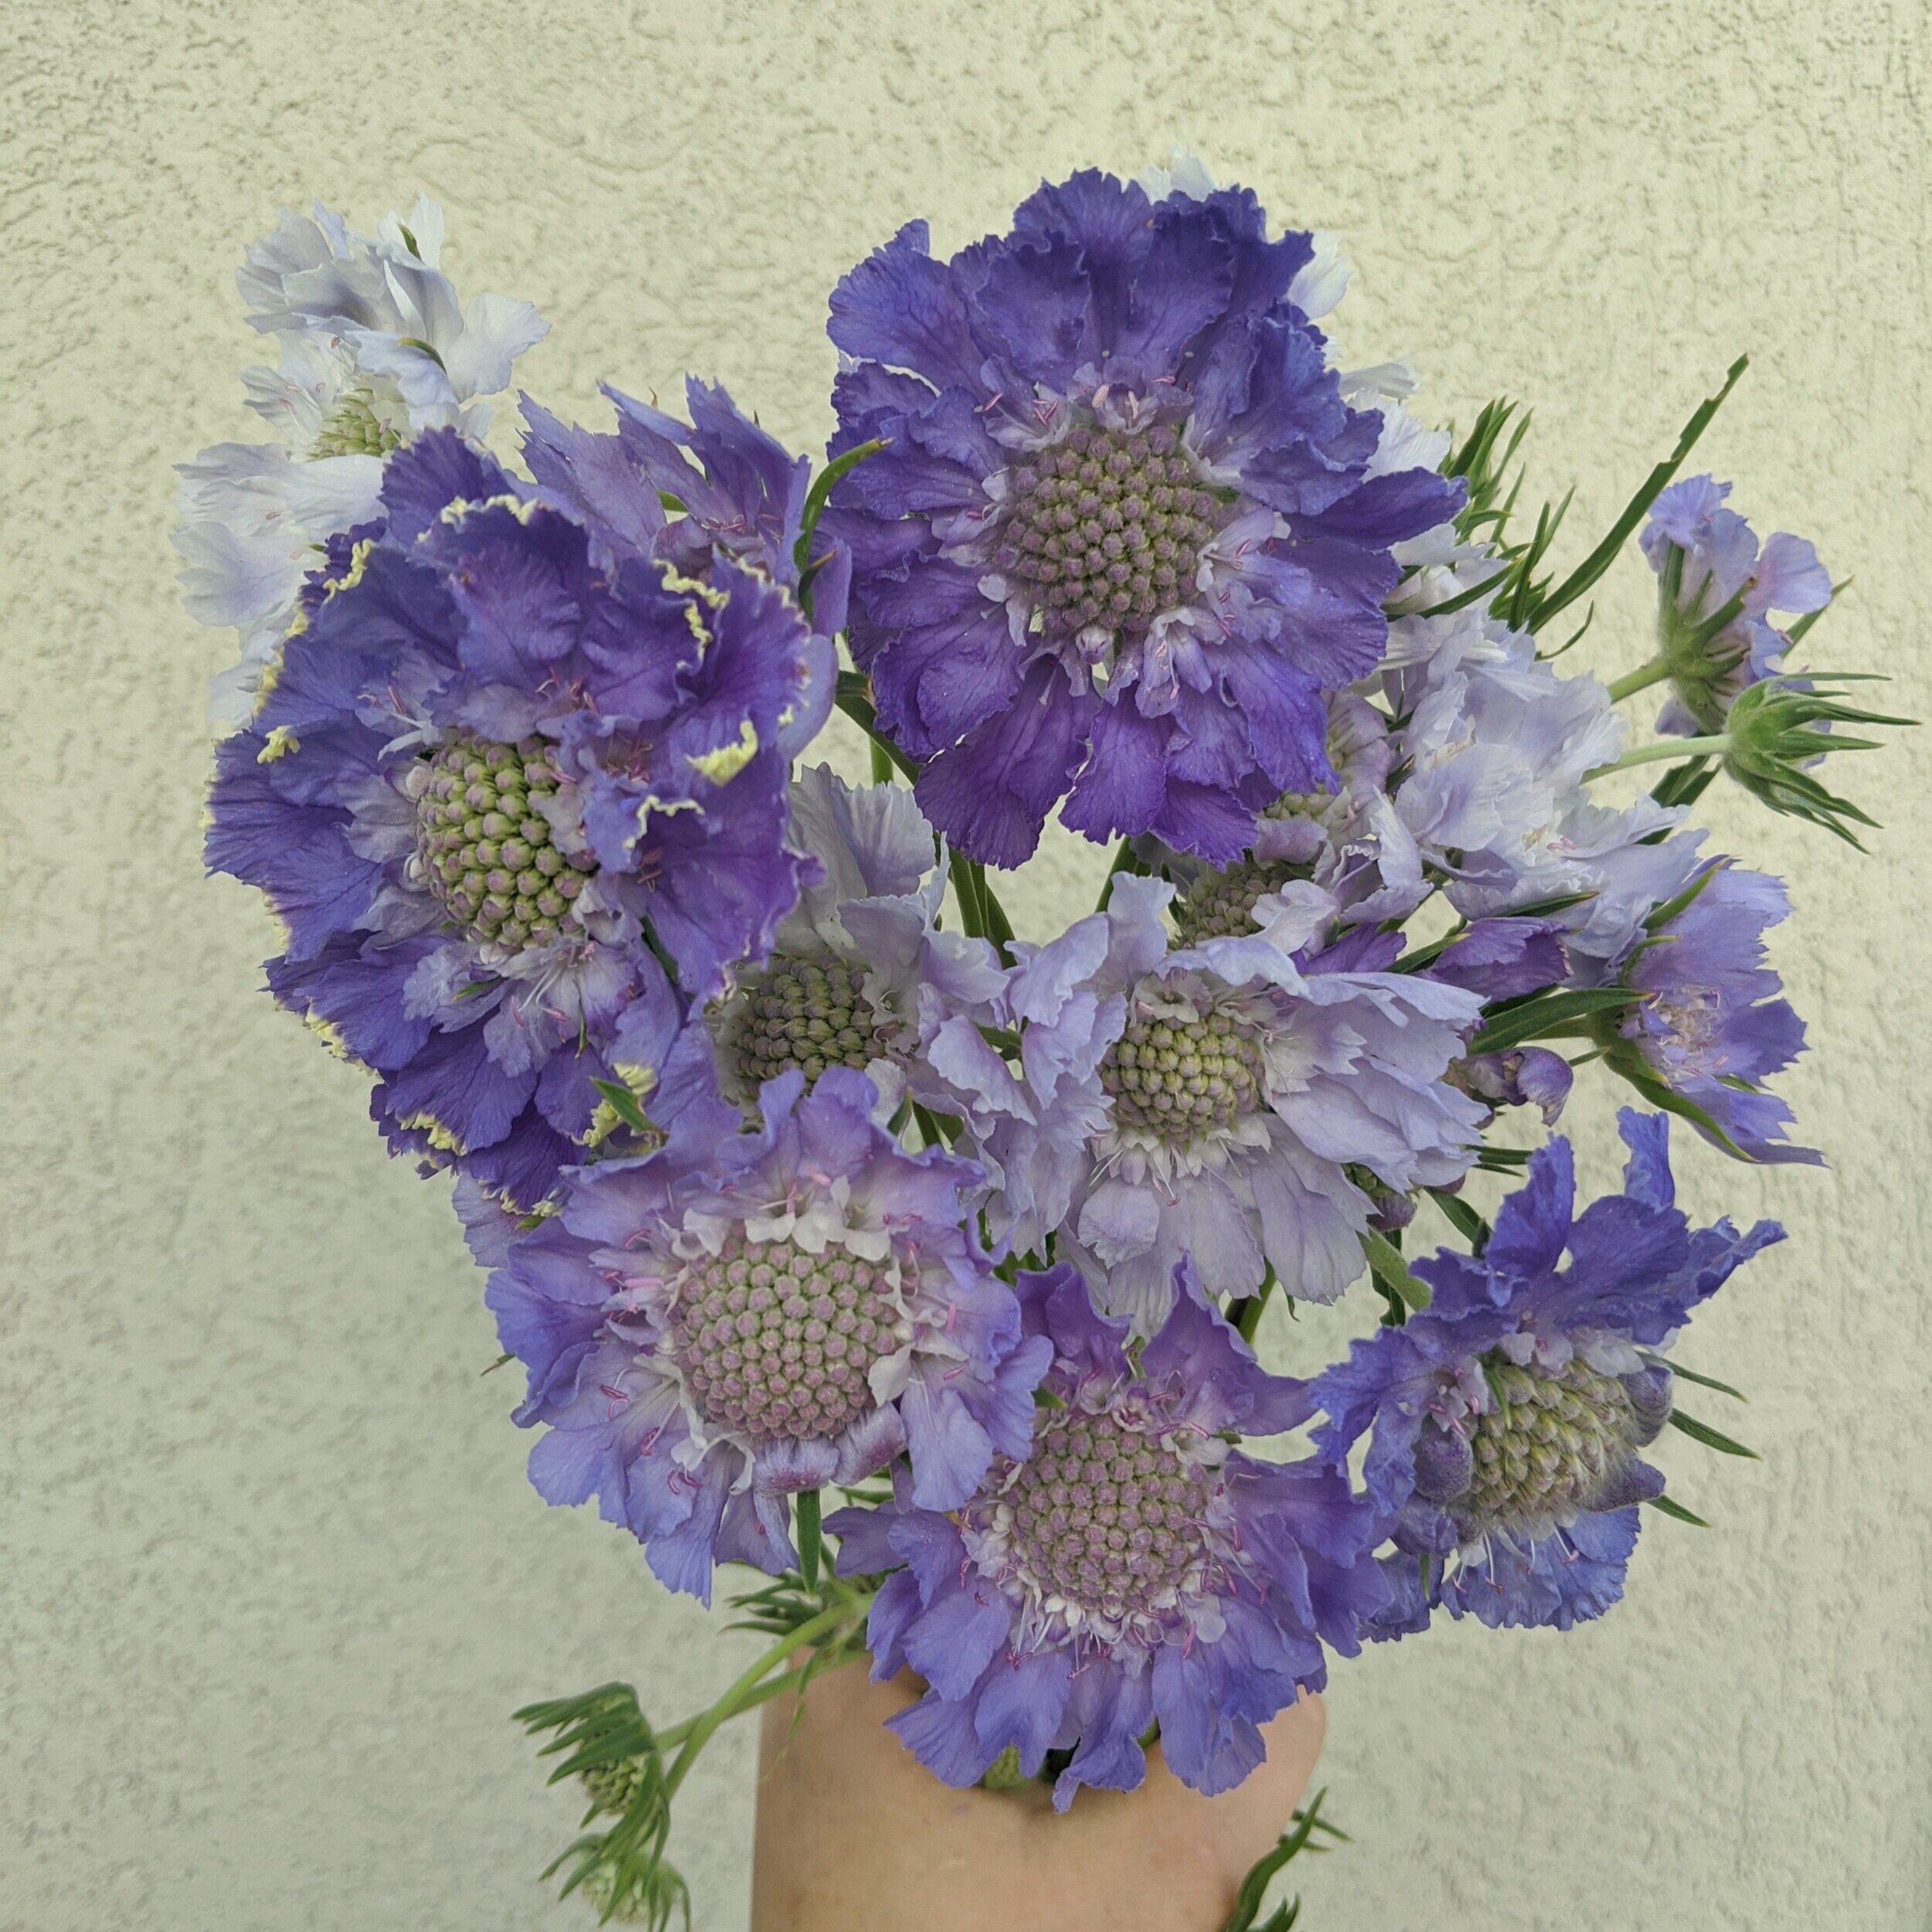
2. Scabiosa “Fama White and Fama Blue”

Also know as pincushion flower, this is often the first perennial to really getting going and will keep going till frost. Available in blue (a cooler lavender-blue) and white. These sweet blossoms can be seed grown or found at local nurseries.

Scabiosa “Fama Blue”

Scabiosa “Fama Blue”

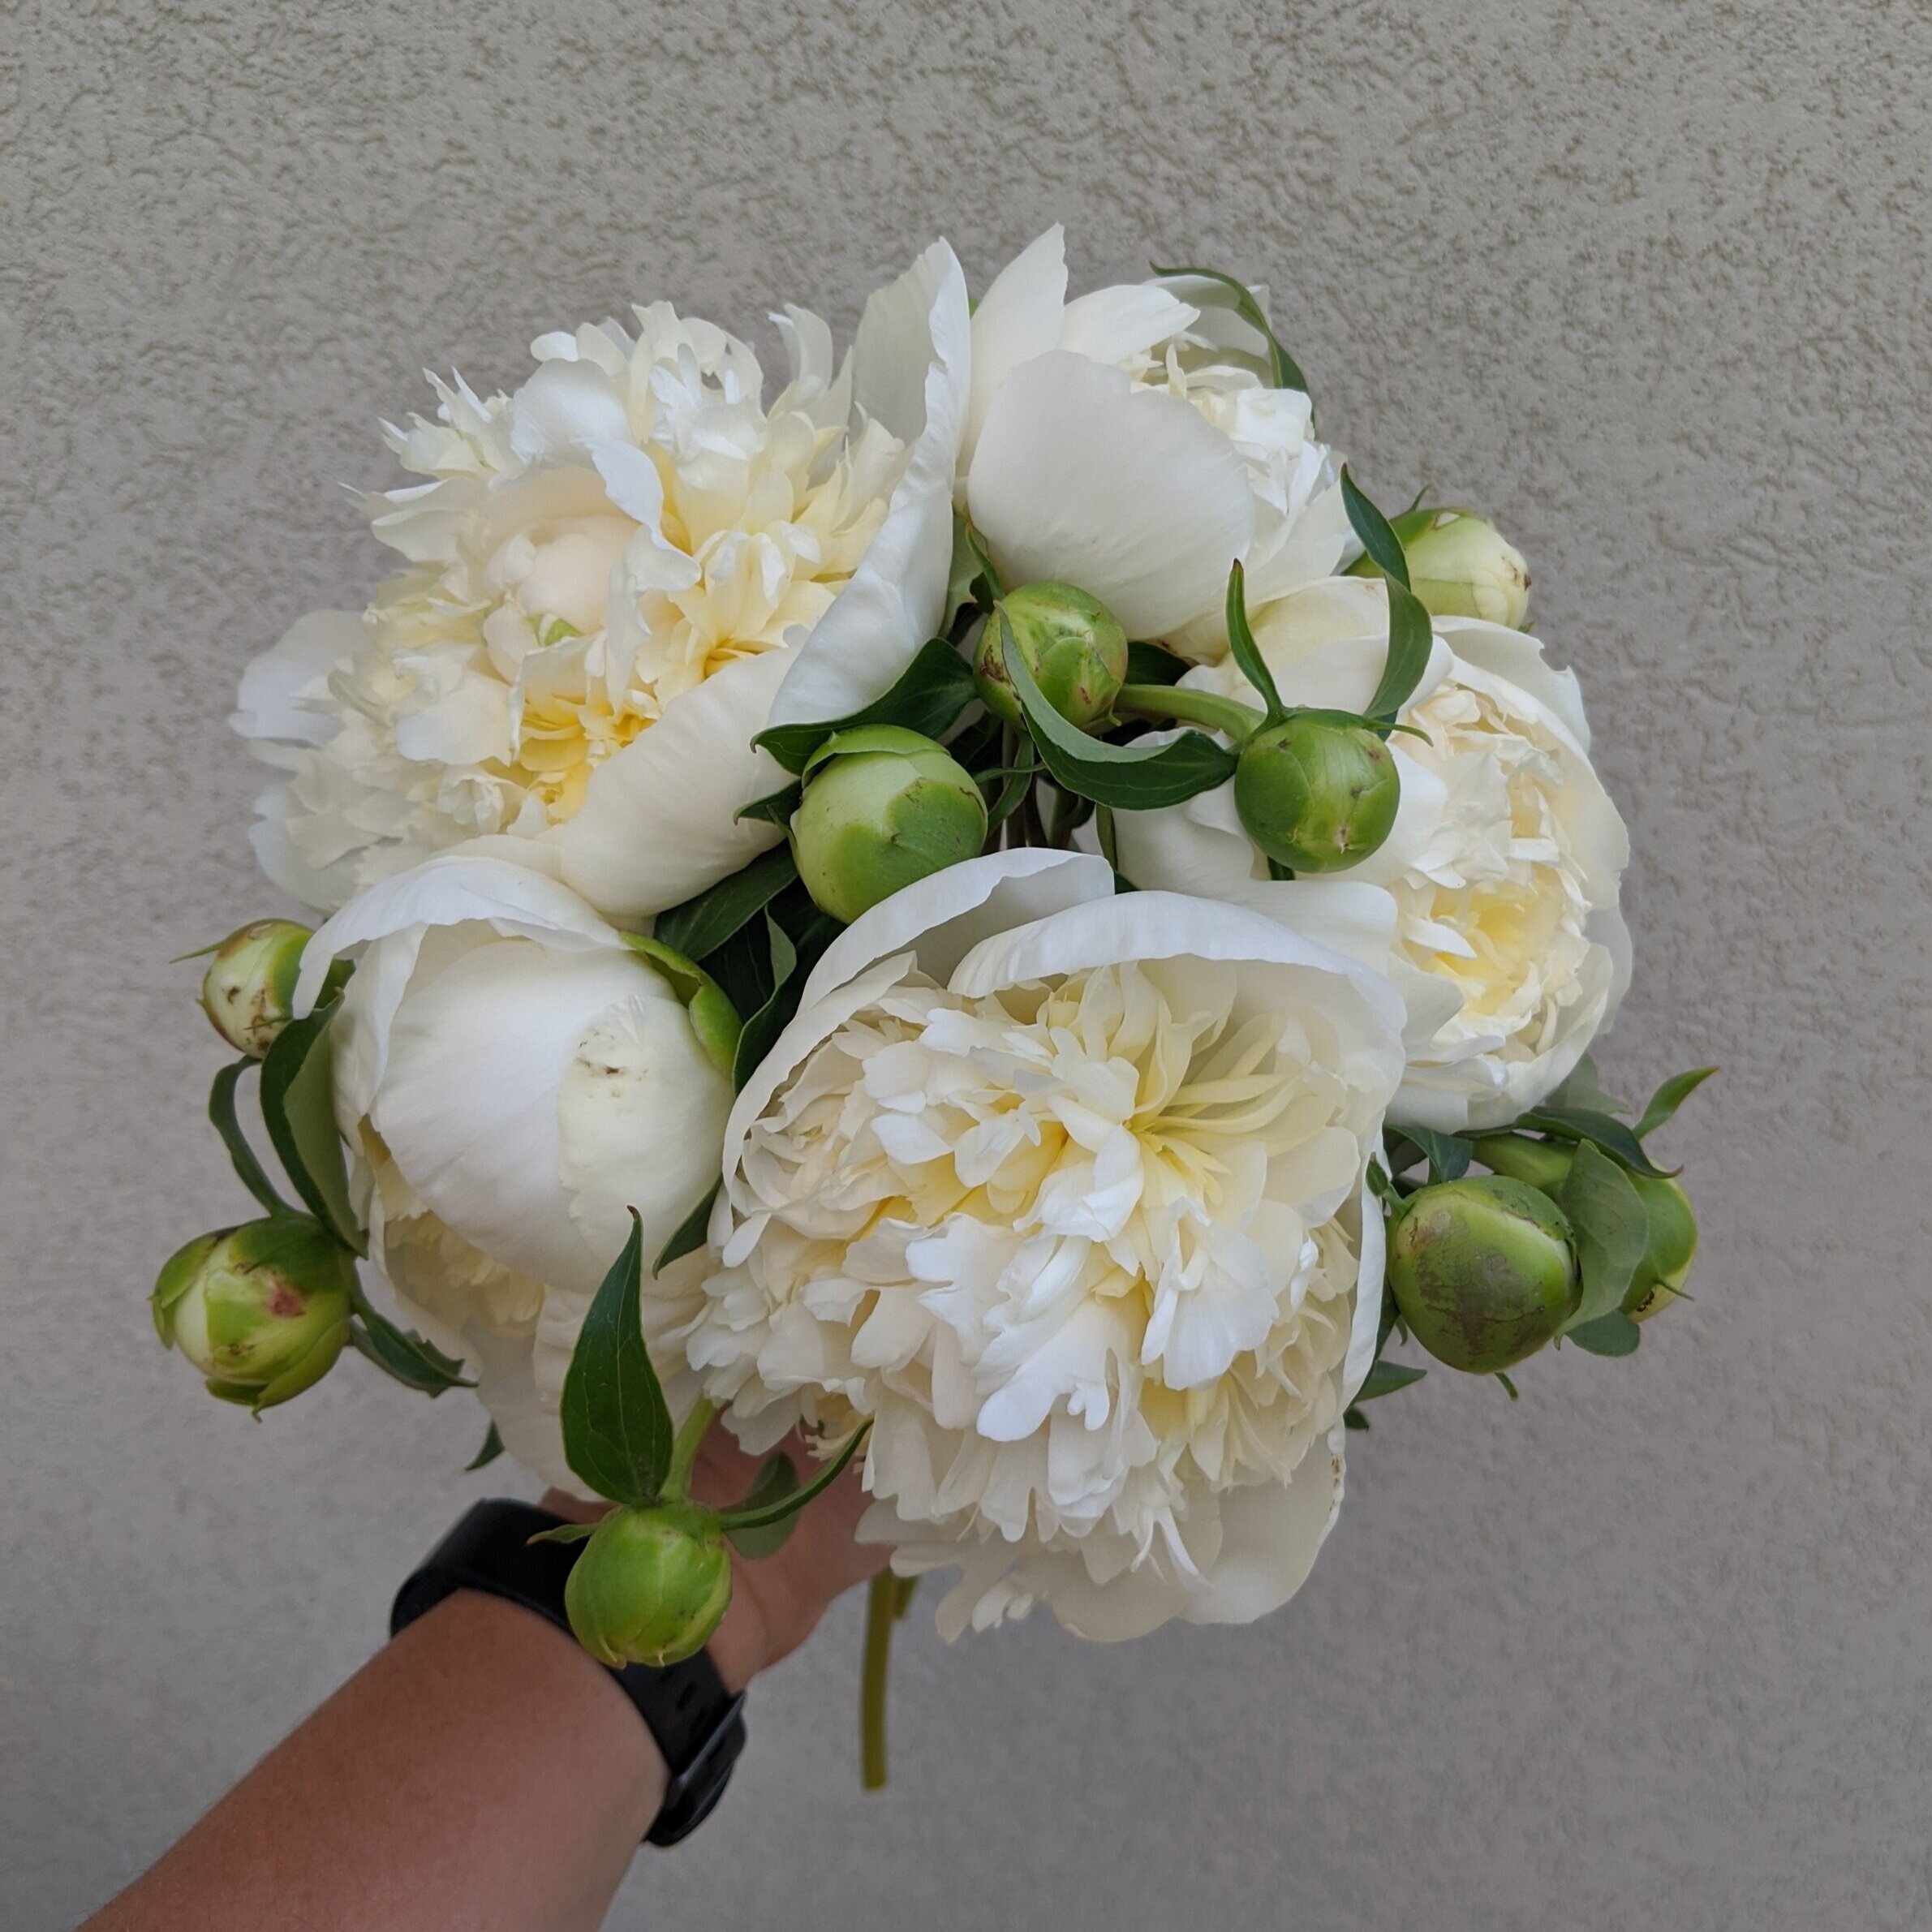
3. Peonies

No matter how you pronounce it, peonies are really the queen of the cut flower garden. These beautiful focal flowers fill a void in late spring. Double petaled varieties typically last longer in a vase than single or semi-double varieties. You can’t go wrong with Coral Sunset, Duchesse De Nemours, Shirley Temple, and Sarah Bernhardt for cut flower gardens.

Paeonia “Duchesse De Nemours”

Paeonia “Duchesse De Nemours”

4. Solidago “Golden Baby”

I l.o.v.e. goldenrod! It’s the little magic touch that gives every bouquet a bit of sparkle. The variety Golden Baby is a winner because you can start it from seed and it tends to be more well behaved than other solidagos. It blooms and reblooms June till frost.

Solidago “Golden Baby”

Solidago “Golden Baby”

5. Sedum “Autumn Joy”

Sedums make great cut flowers, sometimes even rooting in the vase. The trick is to make sure you choose tall cultivars, at least 18 inches in height. Autumn Joy is plenty tall enough and a beautiful pink that works well with bright summer colors and the richer shades of fall.

Sedum “Autumn Joy”

Sedum “Autumn Joy”

A little bonus note on Foliage

There are lots of greenery you may already be growing in your yard. If it looks like something that would look good in a vase, clip it and bring it inside to test. Some foliages I like to use are raspberry leaves, mint, bee balm, and lady’s mantle.

A bucketful of raspberry, ladies mantle, and bee balm foliage.

A bucketful of raspberry, ladies mantle, and bee balm foliage.

Hope you enjoy this little list of some of the best perennial cut flowers. Catch my warm season list here and my cool season list here.

Growing Raspberries Made Easy (Or At Least Easier!)

We love raspberries at our house. A lot. They might be our all-time favorite crop. We had a beautiful little patch at our last house and in our current yard we have a 60-foot-long patch of four different varieties. It’s raspberry heaven around here every late summer.

But it took us three tries before we managed to get them to grow.  I mean, they are practically weeds for most people, but we totally killed them the first two times we tried.  So frustrating!   Not ones to give up when there are delicious berries involved, I studied up and we planted again. Finally, success!  Since then we’ve had a number of friends come to us for tips on growing berries and I thought I would share those tips here with you.

1.       Plant at the right time- Early Spring is the best time to plant berries.  They aren’t affected by snow or cold, in fact they do better if they can get established before temps start to soar in the summer.

2.       Plant in the right place- Ideally you would prep your site in fall, so it would already to pop in the plants in Spring.  Raspberries like well drained, weed free soil and at least a half-day of sunlight. Avoid spots where you’ve already had raspberries, strawberries, tomatoes, potatoes, eggplants, or peppers. These plants might have left evil pathogens behind that would harm your new plants.

3.       Plant bare root berries- You can find the widest variety of raspberries bareroot and they settle in faster. Bareroots are usually less expensive, too! And buy them certified disease free from a nursery, don’t be tempted to get them from a neighbor, they could have diseases.

4.       Plant fall bearing raspberries, for easiest care. Also called primocane or everbearing, they fruit on the newest canes each year (and if those canes are left, will fruit again the following summer). So easy to prune, you can just cut all the canes down to the ground in either late fall or early spring. You can have a crop of raspberries the very first year of planting. Yay for not having to wait for two years like you would with summer bearing raspberries.

5.     Plant them right- Soak your bare root plants for about an hour before planting. Space the canes 18-24 inches apart. Most bare root are shaped like an L, dig a trench for the bottom of the L, you want to make sure topmost roots on the plant are covered by about an half inch of soil. Firm the soil really well and water in.  Berries do best with adequate irrigation, we love having ours on drip lines.

Ripe Double Gold Raspberries, such pretty and delicious berry.

Ripe Double Gold Raspberries, such pretty and delicious berry.

Those 5 tips, in my opinion, are the most important when establishing a new raspberry patch. Now for a couple of fun bonus ideas!

                *Have fun with the varieties you choose. You can get regular old red raspberries at the store, so plant something harder to get like yellow or pink berries. We have Anne, a yellow, and Double Gold, a pink champagne color, and love them both.

                *Find a berry patch nearby and go try the different varieties. Find your favorite and order those. That is how we found our two favorite red varieties, Caroline, sweet with a bit of tartness and Joan J, a thorn less raspberry. Just thinking about them is making my mouth water!

                *Since this a flower farm blog, I should tell you that raspberry greens are a fabulous cut foliage for arrangements. Even the immature berries are pretty mixed with flowers in a vase. It’s one of my favorite greeneries to add to bouquets.

Raspberry foliage and summer blooms.

Raspberry foliage and summer blooms.

I hope these tips help you find success growing raspberries so that you can look forward to summers bursting with deliciousness!